Casting Tips to Improve Your Orthotic Outcomes
As one of the few remaining orthotic labs in the country to still provide a hand-crafted orthotic (using plaster modifications), we’re keen to continue this service. When manufacturing an orthotic this way, the emphasis of taking a good cast can’t be underestimated. A good cast is critical in producing a functional orthotic which is comfortable for the patient to wear. No amount of ‘lab discretion’ can replace capturing the patient’s anatomy in a repeatable manner. So what are the key elements in taking a good cast?
Patient Position
For supine casting, ensure the patient’s foot and distal 1/3 of the leg is hanging off the edge of the plinth. The lower leg should be horizontal or slightly declined.
If the leg is externally rotated, have the patient internally rotated at the hip or wedge up the lateral leg and thigh with pillows of towels. The long axis of the foot should be vertical.
Instruct the patient that you’ll need them to relax. For some patients this cue causes them to tense immediately! Ask them to let their whole leg go floppy. Look at the tibialis anterior tendon for signs of contraction.
Podiatrist Position
It’s critical that the podiatrist gets in the correct position. Ensure the patient’s foot is close to your chest. Keep the wrist in neutral so the bigger muscles of the shoulder are doing more of the work. This is one of the most challenging aspect of the casting techniques to master. Inexperienced practitioners may find this physically challenging. If this is the case, there’s a good chance you’re not in the correct position.
Load the MTJ
Insufficient loading of the midtarsal joint is one of the most common casting errors we see. In our experience there are more and more serious casting errors made in the positing of the midtarsal joint than in the positioning of the subtalar joint. In most feet, a few degrees of difference in the position of the STJ typically doesn't result in a dramatic change in the plantar shape of the foot. However, we see the MTJ as being more difficult to put in the proper casting position based on what we have seen in casts at the lab and in teaching students and practitioners the neutral position casting technique.
Insufficient forefoot abduction, dorsiflexion and eversion force can result in MTJ supination (i.e. creating a false forefoot varus), while excessive force can result in STJ pronation.
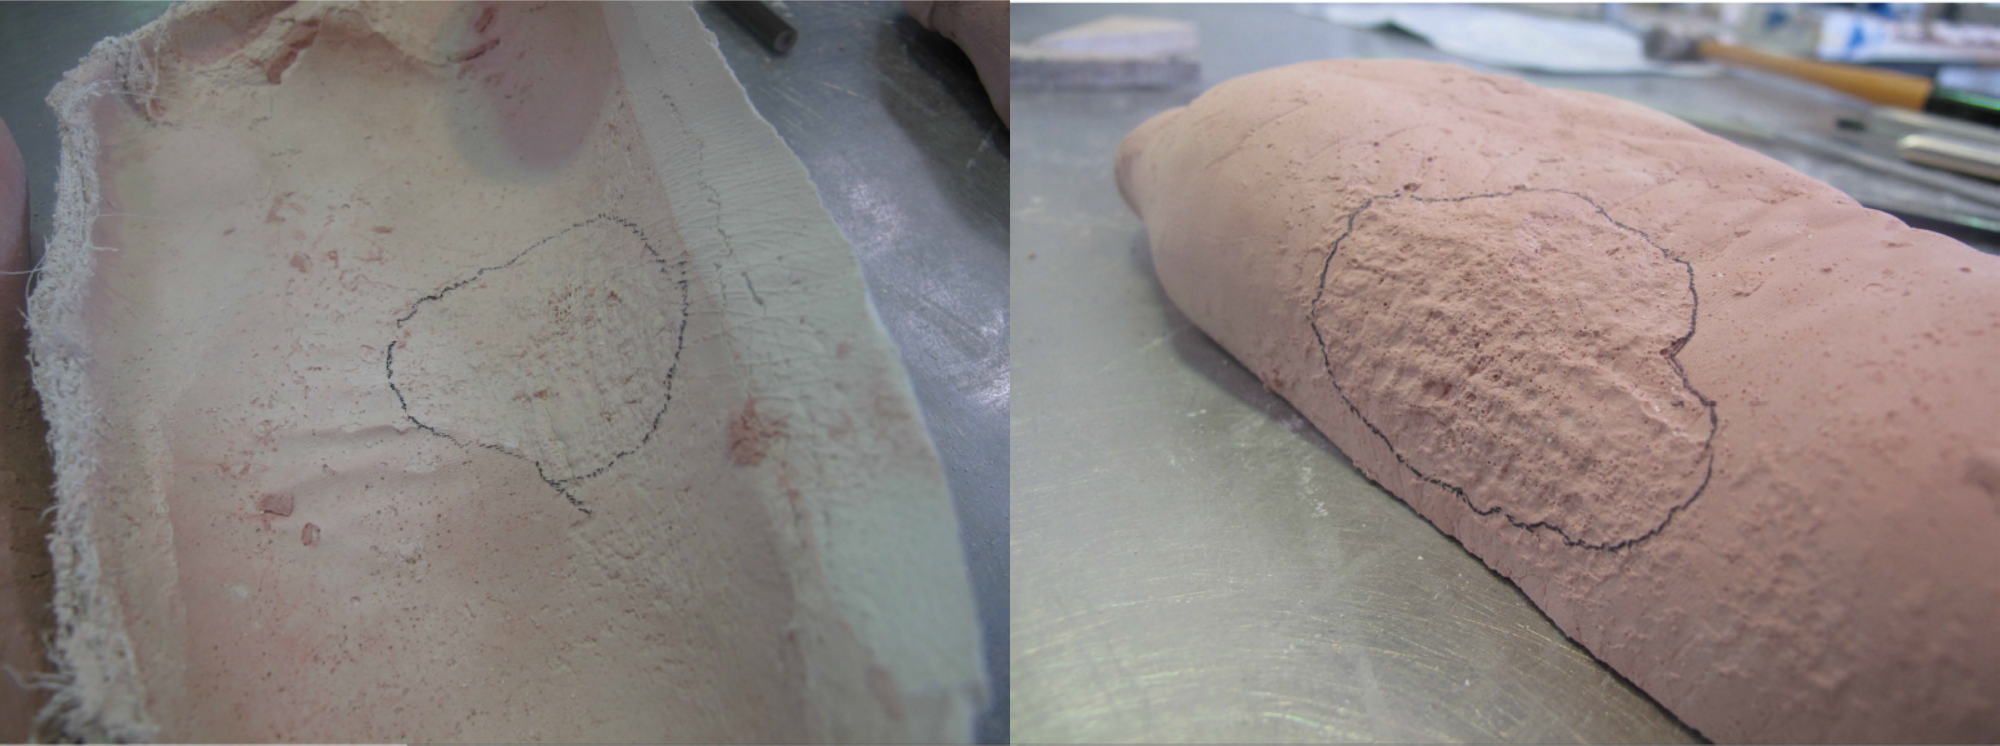
Work the Plaster
Use double layers of plaster and ensure good overlap between the rearfoot and forefoot splints. Spend some time initially working the plaster in to create a smooth, robust cast free of any air bubbles. Pay particular attention to areas of high curvature (e.g. medial longitudinal arch) so the plaster doesn’t gap from the foot.
Take Your Time
Don’t be in a rush to remove the cast. Removing it prematurely can undo all your hard work by causing the cast to buckle if it hasn’t set correctly. Setting times vary from batch to batch along with other external factors (e.g. temperature).
And Finally…
Don’t package your casts up straight away. They will continue to ‘sweat’ if put inside a box immediately, which again will undo all of your hard work. Ideally let them casts dry in ambient air for 24 hours prior to dispatch. Otherwise you can microwave for a few minutes the casts or use a heat gun on them to help them fully cure.
By following these steps, you’ll be sure to produce a good cast which accurately represents the patient’s anatomy. This will give your lab the best chance of manufacturing an orthotic to help give you great patient outcomes.
